HOW TO POLISH AN ALUMINUM PONTOON BOAT STEP BY STEP INSTRUCTIONAL GUIDE:
Pontoon boating polishing can be VERY time consuming to polish and can require skill to correctly take a pontoon boat from dull and faded to a beautiful mirror shine. Our all encompassing pontoon boat polishing kit is everything you need to polish a boat other than the right angle grinder. Before we get into how to polish, we first need to go over the polishing products and safety products needed to complete your job.
SAFETY FIRST:
1. Full Face Respirator - Dont skimp on these, you dont want metal dust and polishing products in your lungs! This is the best respirator for metal polishing.
2. Safety Flanges - While there are two types, exterior flanges and insertable flanges, if you are just starting out get yourself the cost effective exterior flanges. You CANNOT and should not polish without this!
3. Tape - Masking tape is an absolute necessity when high speed polishing. This protects YOU from damaging paint that exists around the areas where you are polishing.
PRODUCTS YOU WILL NEED TO POLISH
1. Rotary Polisher - The best buffer for metal polishing is the fixed speed Makita GA7021 if you can handle the power and are a somewhat experienced or professional metal polisher. For beginners we recommend starting with a variable speed 3,500 RPM grinder, our personal favorite being the Makita 9237C.
2. Random Orbital Sander:
1. Corded Orbital sander - Makita sander - used by 90% of polishers $ 89
2. Cordless Orbital Sander - Milwaukee Cordless Orbital Sander $ 117.99
3. Buffing Rake - Buffing rakes are used in metal polishing to rake out any clumped up polishing compound and metal particles that get stuck to the buffing wheel. This is a necessity!
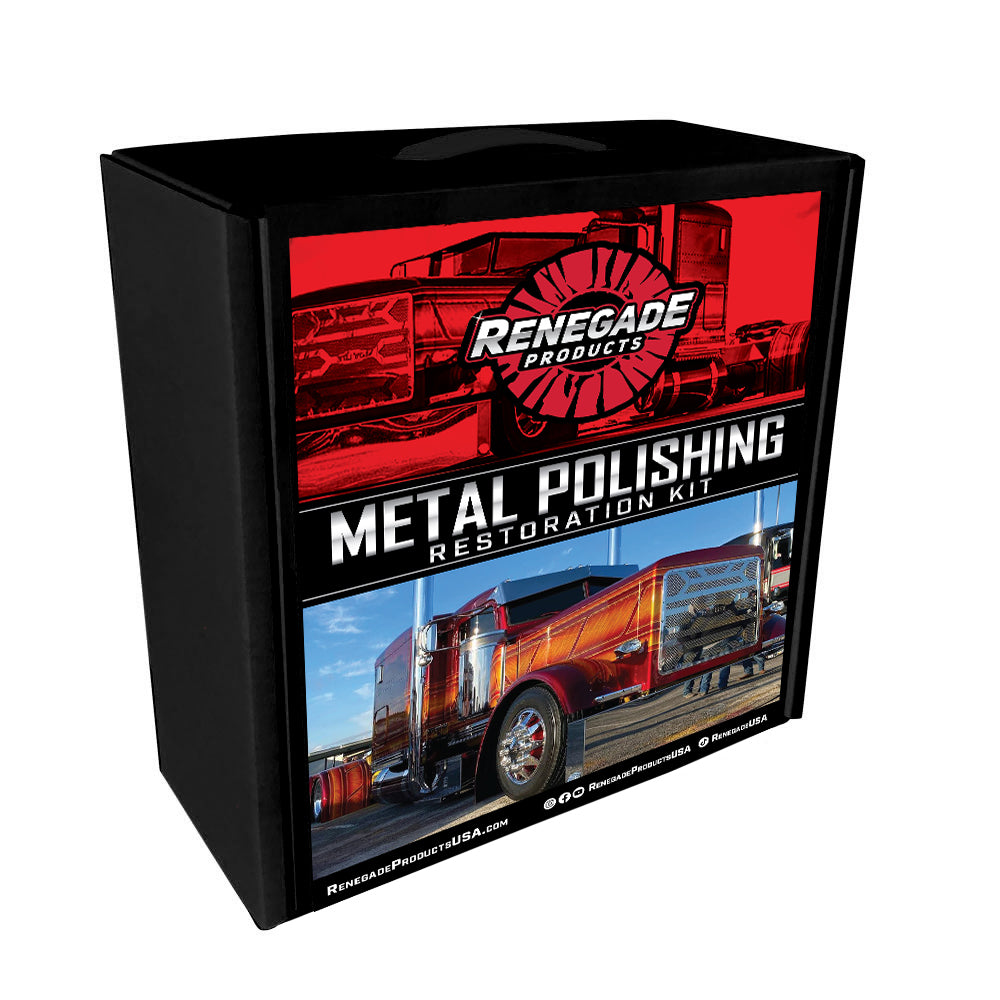
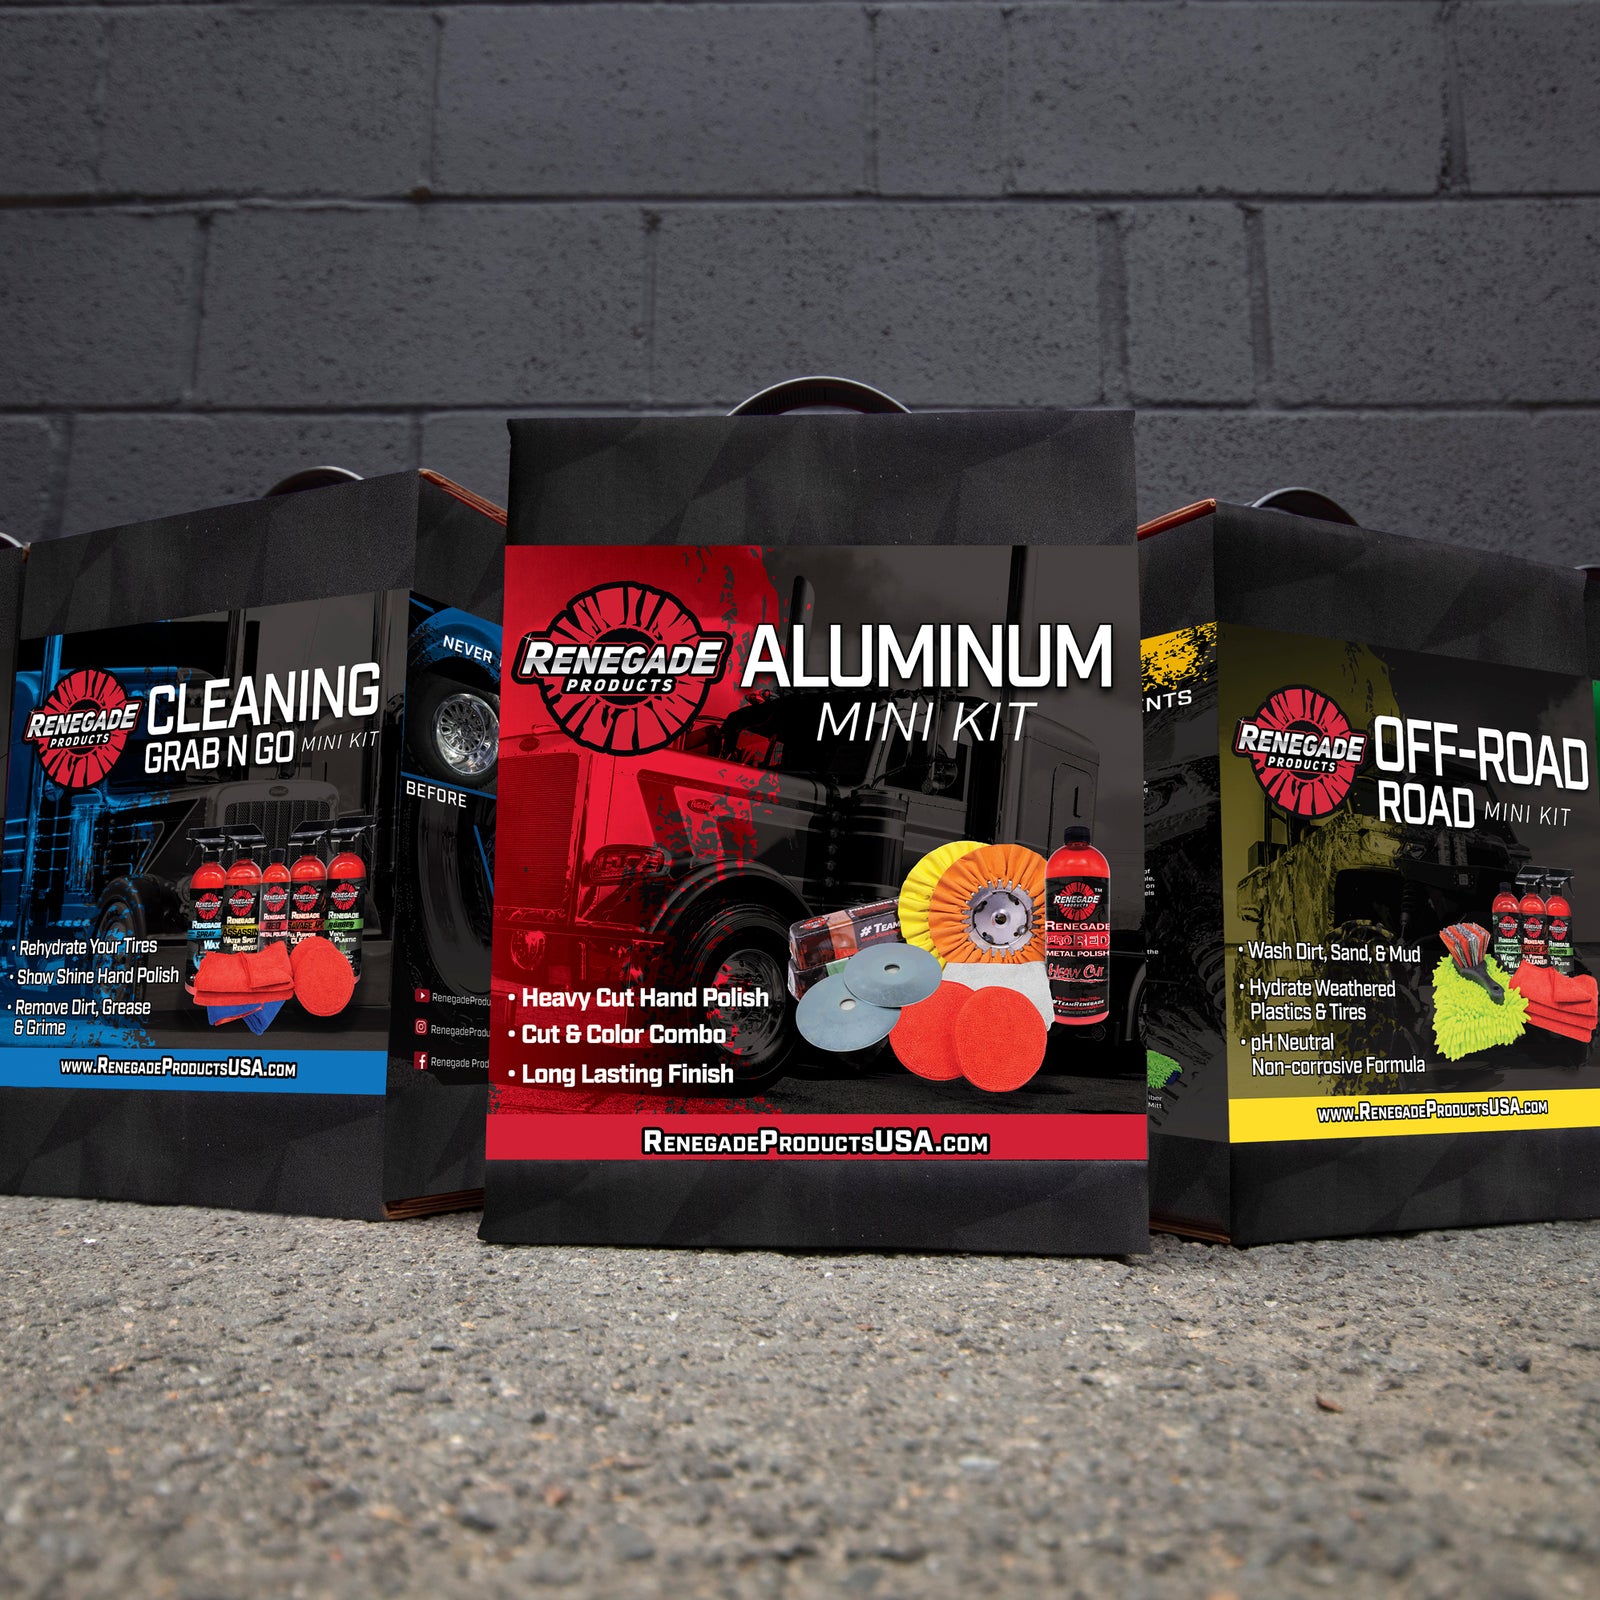
4. Renegade Products Pontoon Boat Polishing Kit
UNDERSTANDING BUFFING PRODUCTS BEFORE STARTING YOUR JOB:
We have developed a system here for our pontoon boat polishing kit that should be relatively easy to to follow such as what products pair with what and generally what speed to polish at.
1. SANDING:
While there isn't any one rule that will encompass all cases or all pontoon boats, the best rule of thumb we can give is based on simple polishing facts.
A. You cannot get out pitting or scratches from metal polishing with buffing wheels & buffing compounds, so sanding using your Random Orbital Sander will be absolutely necessary if you plan to get out any pits or scratches in your pontoon boat.
B. IF you NEED to sand, always start with the least aggressive sandpaper grit then work your way to your mirror polish with your buffing wheels. As an example, it is important that you PATCH test a small piece of the pontoon boat using the least aggressive sandpaper possible and see if that will get out your pits, scratches. We recommend starting with a 400 or 600 grit sandpaper to start. If that works...GREAT! Sand the 400 or 600 grit then go right into your metal polishing. You will NEVER need to go higher than a 600 grit as our tripoli compound will take out any 400 or 600 grit scratches in your aluminum. IF the 400 grit doesnt work, patch test with a 320 grit and see if that takes out the scratches. The coarsest we have ever seen a pontoon boat needing sanding to was about a 120 / 150 grit!
2. POLISHING
- Cut Stage - For the first step of your polish we recommend using our orange airway paired with a tripoli compound bar. If you are a noobie we recommend you polish at 3,500 RPM using your Makita 9237C or if you are professional you can do 6,000 rpm using your Makita GA7021. Make sure you are raking your buffing wheel every 2-3 feet of polishing to make sure you aren't getting too much aluminum and polishing compound caked onto the edge of your wheel.
- Color Stage - For this step we recommend our yellow buffing wheel paired with our green rouge compound bar. Similar to what we said in your cut stage, if you are new to polishing we recommend using a variable speed polisher and polishing @ 3,500 RPM. Similar to the above step you are going to make sure you are raking often to make sure you arent getting too much aluminum & polishing compound caked onto your wheel. It sends to build up more frequently on this coloring stage.
Below is a table showing the maximum safe operating speed for each size of buffing wheel:


