Renegade's original Red Line
•Soap & Dressing & Savage APC
Kits
$49.00
•2oz Bottles of hand sanitizer and surface disinfectant spray to leave in your vehicle, purse, or other convenient areas
•Full size bottles for work or home
$49.00
$49.00
$49.00
Título del menú
Esta secção não inclui de momento qualquer conteúdo. Adicione conteúdo a esta secção através da barra lateral.
Your headline
Image caption appears here
$49.00
Add your deal, information or promotional text
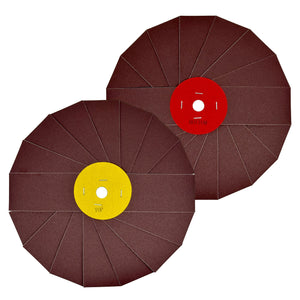
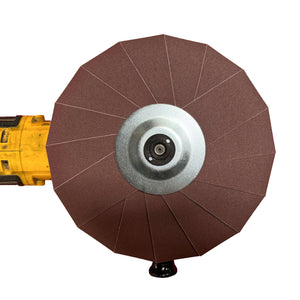
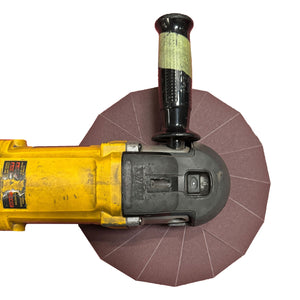
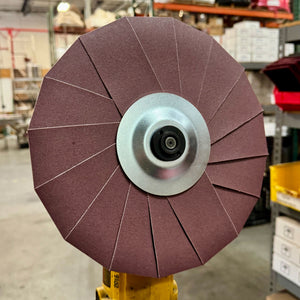
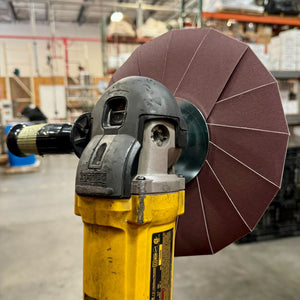
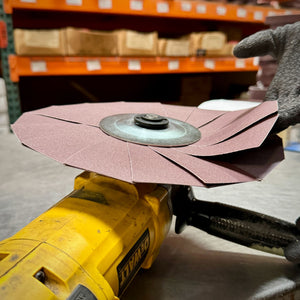
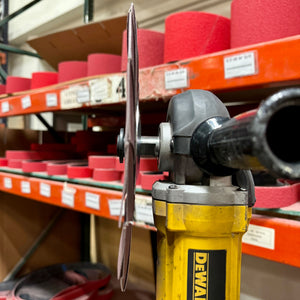
LRSRPAPW220-PM
$52.00 USD
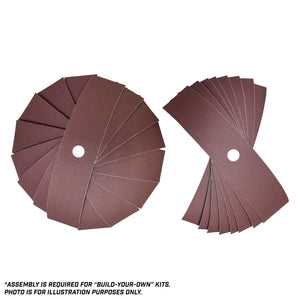
The 10" Sanding Pinwheel from Renegade Products is meant for the aggressive removal of surface imperfections and impurities from metal surfaces, prior to the polish process. They are constructed premium Aluminum-Oxide abrasives. They are available in abrasive material ranging from 220, 320, 400, and 600 grit.
The Pinwheel is meant to attack pitting, heavy oxidation, rust, and general heavy material removal.
These Abrasive Pinwheels are especially useful on projects that have perpendicular sides and corners where conventional sanding tools do not reach. They're also great for curved surfaces, as the abrasive "flaps" are more able to contour to the working surface in comparison to rigid counterparts.
These Abrasive Pinwheels should be run on a variable-speed grinder at no more than 2,500 RPMs and should be used in conjunction with a set of Safety Flanges. It is also necessary to use these Abrasive Pinwheels with our Renegade Grease Stick in order for them to be effective.
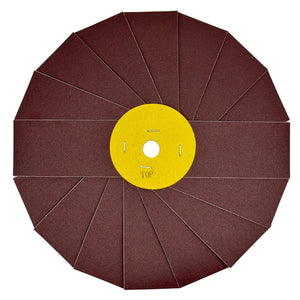
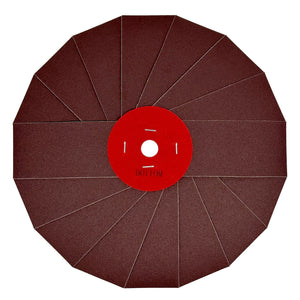
Pre-Made Abrasive Pinwheels are color-coded to indicate top and bottom placement.
Step 1:
Install a three inch grinder extension and a safety flange.
Step 2:
Install the abrasive strips with the backing of the strip or non abrasive side facing upward in a clockwise direction. Make sure that you're installing the strips edge-to-edge to ensure that you will have created a full circle at the end. There should be eight strips per side.
Step 3:
Install the abrasive strips with the abrasive side facing upward in a counter-clockwise direction following the same pattern you did in the previous step.
NOTE: Make sure any adjustments to the strips are made while applying each strip individually.
Step 4:
Mount the other safety flange and fasten it with a 5/8"-11 lock nut.
See below for an instructional video on assembling your own Abrasive Pinwheel:
